Automatic upload
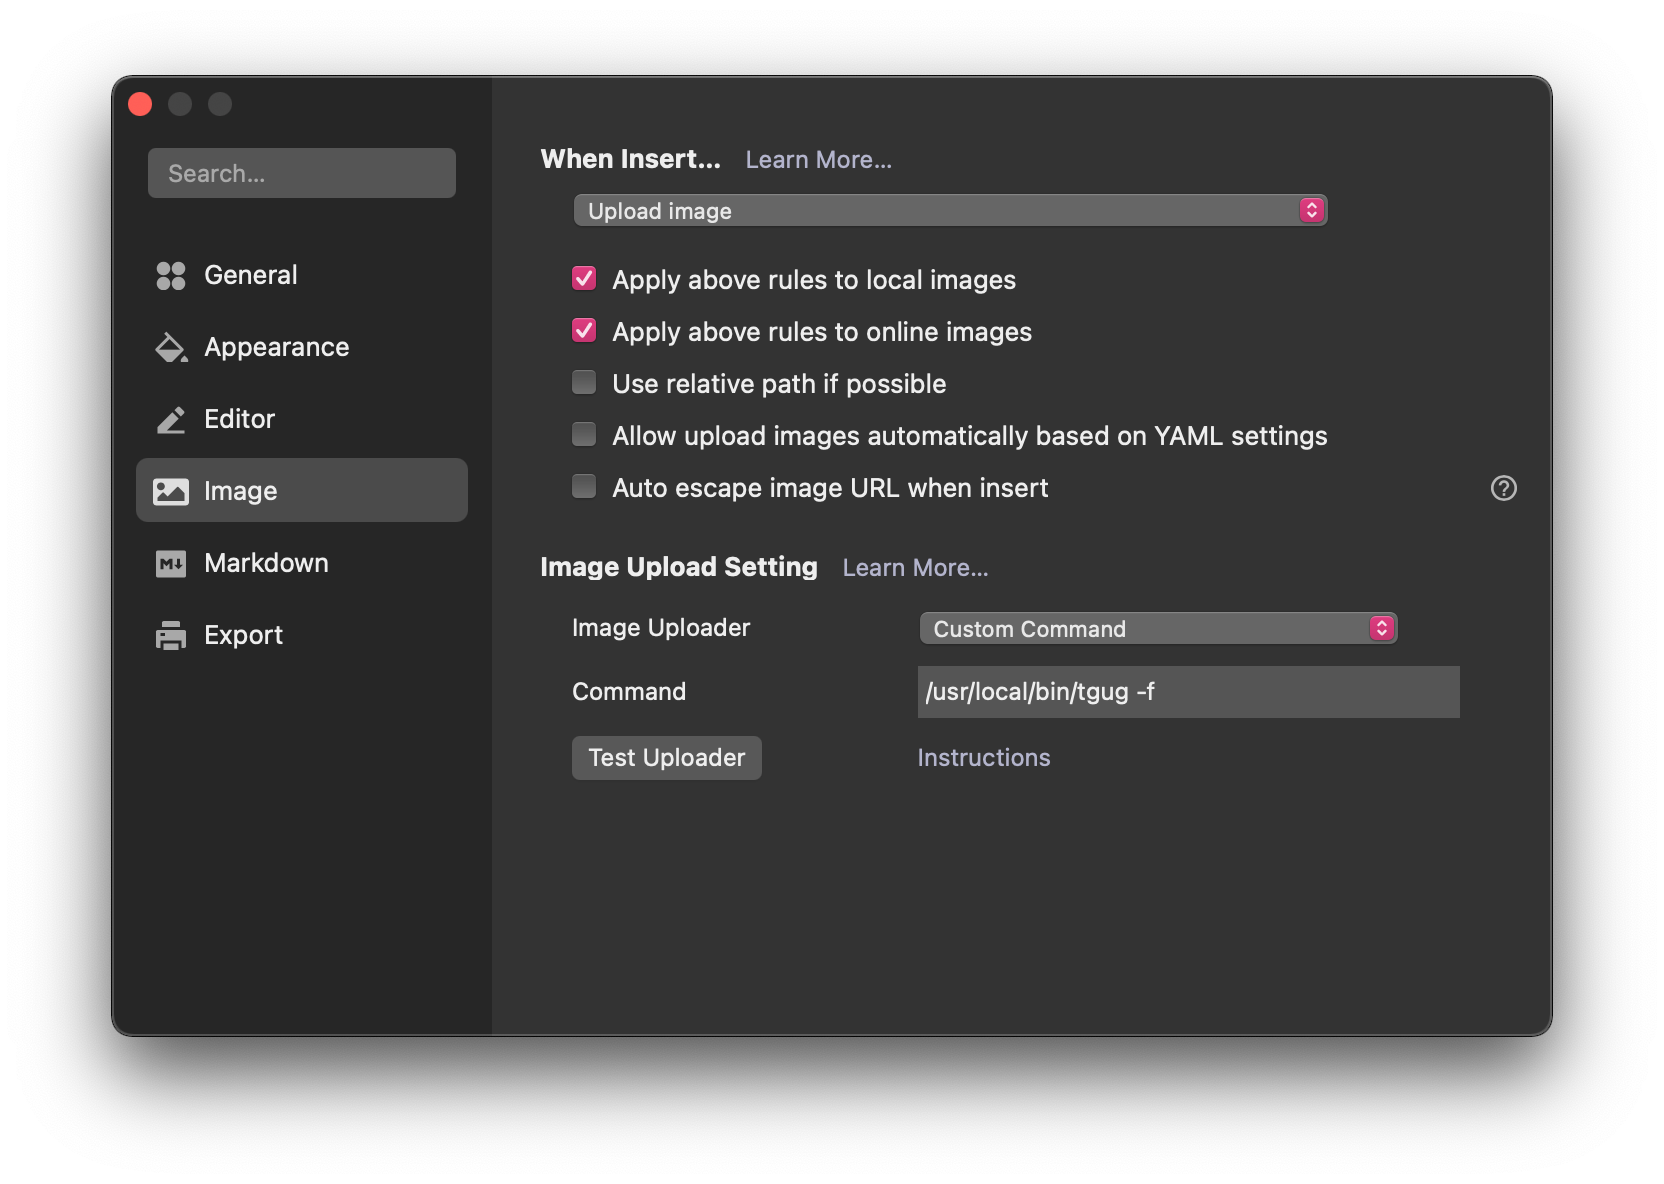
You can set typora to upload all your images automatically. Go to setting panel, and choose "Image" tab.

First, in "When Insert..." menu, select a behavior for Typora to take when you insert an image. Choose "Upload Image". Next, you can set an uploading rule for local images and online images. Select every type you want. Leave other options as blank.
After that, select "Custom Command" out of other 3rd party image uploaders. Now type your tgug's path with -f flag. For example, mine is /usr/local/bin/tgug.
It is recommended to test if all works well. Typora will provide filepaths for testing, so you can simply click "Test Uploader" button. You probably see the console output as below:
/Users/indo/.tgug 🎉 Upload Successful! https://devbull.xyz/content/images/2021/06/icon_512x512.png
Manual upload
If you don't want tgug to upload every images to your Ghost blog, in setting panel's When Insert... menu, choose "No special action".
Whenever you want to upload an image, you can simply right click an image and click "Upload Image". Then tgug will do the job.


